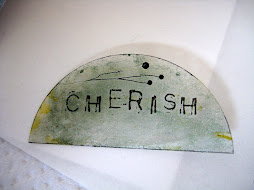
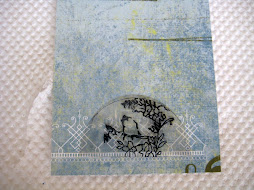
We promised the complete instructions for Janet's accordion and pull tab card honoring moms, and here they are. We can't think of a mom or grandmother who wouldn't love this card, which has spaces for pics and journaling.
Accordion Pocketbook Mother’s Day Card
- Chipboard
- 1-12x12 double sided Paper
- 2-12x12 Patterned paper (This does not need to be double sided)
- Embellishments for decorating
Take the 12 x 12 double sided paper, score at 4”, turn paper over and score at 4” from the other side. Turn paper sideways and score at 4” from bottom. Fold up making a pocket. Apply a thin strip of adhesive at each fold and on both ends to form pockets.
Letters - 3” width, 3” length
Rectangles - 3” width, 4” length
Line the letters up on top of the rectangle so that the letter overlaps the rectangle. Be sure and check the weld box for each letter and each rectangle. Cut welded letters/rectangles out of chipboard.
Cut two of each letter, using flip image feature for the second one.
This will give you a letter for the front and the back of the card.
Then cut just the rectangles out of patterned paper. This does not have to be double sided since it will be attached to the chipboard. You will need six rectangles cut from the patterned paper, one for the front and one for the back of the chipboard.
Assembly:
After cutting all elements, it is time to put the cards together. I used my Zyron 510 to apply the adhesive to the back of the letters and rectangles.
You can also use a good solid adhesive stick. Liquid glue will take too long to dry and may cause the paper to pucker.
- Three .cut files are available to help you make this card. Click here to access the .cut files.
- Janet says "This can also be done with the letters DAD for Father's Day."


.gif)
1 comment:
Sue and Janet,
Thanks for a great idea. Love the newsletter also.
Cricut MB Friend "Penster"
Post a Comment